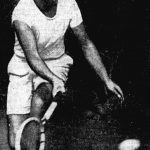
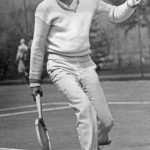
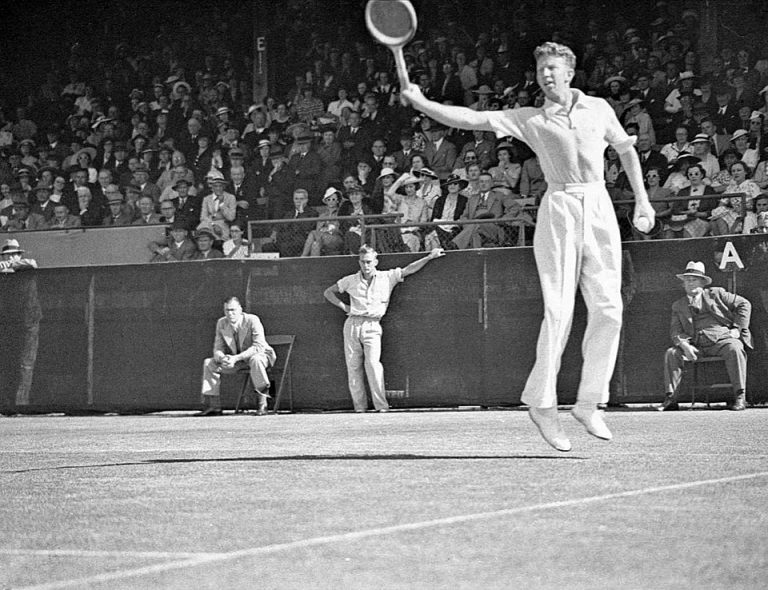
Don Budge
Public domain — Wikimedia

Don Budge

United States
Golden Era Retired #1 career high 14 titles Right-handed One-Handed BH 185cm
4 Grand Slams
  • Australian Open 1
  • Roland Garros 1
  • Wimbledon 1
  • US Open 1
First player to win the Grand Slam (all four majors in one year, 1938). Pioneered the attacking backhand as a weapon rather than a defensive shot.

Video Library (24 videos)

Name FPS Duration
Budge Effortless Elegance Ed Atkinson’s classic forehand from a neutral baseline position, filmed from a side court-level angle. His eastern forehand grip is clear, with a laid-back wrist creating noticeable lag before a firm, controlled release through contact.
6.2s
5 Don Budge Neutral Stance Front Side Rear Don Budge's neutral-stance groundstrokes from the center of the court, filmed from a rear angle. His shoulders turn well past 90 degrees relative to his hips, creating a pronounced trunk coil that then uncoils in a clearly sequenced motion from pelvis to torso to shoulders.
26.9s
BH Approach → FH Volley → OH Don Budge's backhand approach shot followed by a forehand volley and overhead from a neutral court position, filmed from a standard court-level angle. His footwork includes a small adjustment hop into a neutral stance on the approach, then quick recovery steps to set up balanced positioning for the volley and overhead.
3.7s
FH Approach → FH Volley · Side Don Budge's backhand approach followed by a forehand volley from the center of the court, filmed from the side. At contact on the backhand, his racket face is slightly closed with the ball meeting the strings just in front of his lead hip and rising toward waist-to-chest height, while the racket head accelerates forward on a distinctly upward path.
6.2s
BH Budge's topspin backhand from a central baseline position, filmed from a standard side angle. His classic closed-stance footwork is evident as he steps across his body with the front foot, planting firmly before rotating through the shot.
3.6s
Backhand @0210511 Tom Brown's backhand from the center of the baseline, filmed from a side view. His follow-through finishes high with the racquet wrapping across his body as his weight moves forward into a balanced recovery stance.
3.7s
BH · Court-level-side Don Budge's backhand from the baseline, filmed from a side court-level angle. The contact point is well in front of his body with the racket face slightly closed and the swing path driving through the ball on a forward, ascending trajectory.
2s
BH · Front #1 Don Budge's backhand from the center of the court, filmed from the front. His early, small adjustment steps set up a classic closed stance, with the front foot planting firmly across his body before he drives through the shot.
2.1s
BH · Front #2 Don Budge's backhand from the center of the court, filmed from the front. His classic eastern backhand grip is evident, with a firm, stable wrist and minimal wrist hinge through contact.
1.6s
BH · Front #3 Don Budge's backhand from the center, filmed from the front. After contact his one-handed backhand follow-through finishes high across his body while his weight moves forward and he quickly brings both hands back toward a ready position.
1.7s
BH · Rear Don Budge's backhand from the center of the court, filmed from a rear angle. His eastern one-handed backhand grip stays firm as his wrist remains relatively quiet through contact with only a subtle extension after impact.
3.5s
BH · Side Don Budge's backhand from the deuce court, filmed from the side. His classic one-handed backhand uses an early unit turn into a mostly closed stance, with a pronounced weight transfer from back foot to front foot before he steps through the court.
3.7s
First Serve · Front #1 Don Budge's first serve from the center of the baseline, filmed from the front. At contact his racket face is nearly vertical with a slightly closed angle and he strikes the ball well above head height with a pronounced upward swing path.
2.7s
First Serve · Rear #1 Don Budge's first serve from the center of the baseline, filmed from a rear angle. His deep knee bend and strong upward leg drive are clearly visible as his hips extend and rotate toward the court during the serve motion.
2.4s
FH Budge's forehand from a neutral court position, filmed from a side angle. His follow-through finishes high across his body with his weight clearly transferring onto his front foot as he quickly recovers toward a ready position.
3.4s
FH · Front #1 Don Budge's forehand from the center of the court, filmed from the front. At contact his racket face is slightly closed with the ball struck around waist height, and the swing path drives straight through the ball before wrapping up over his shoulder.
2.2s
FH · Front #2 Don Budge's forehand from the center court position, filmed from the front. His shoulders and trunk coil together early, then uncoil in a unified block rotation through contact, with minimal independent shoulder over-rotation past the hips.
3.5s
FH · Rear Don Budge's forehand from a central baseline position, filmed from a rear angle. His shoulders rotate well past perpendicular to the net on the unit turn, with a pronounced trunk coil that uncoils in sequence from hips to shoulders through contact.
3s
FH Volley → FH Drop Volley · Front Don Budge's forehand volley from the net, filmed from the front. His knees stay flexed with a subtle forward hip hinge, and his legs step through the volley to transfer weight into the court.
3.4s
BH Slice · Front #1 Don Budge's backhand slice from the center of the court, filmed from the front. His follow-through finishes high with the racquet face slightly open while his non-hitting hand stays back for counterbalance as he steps forward into a compact recovery stance.
3.6s
BH Slice · Front #2 Don Budge's backhand slice from the center, filmed from the front. His hips stay relatively closed to the net while his knees flex slightly, with the front leg bracing and the back leg lightly loading to support the classic one-handed slice motion.
3.9s
BH Slice · Front #3 Don Budge's backhand slice from the center of the court, filmed from the front. His classic one-handed grip is relatively firm with minimal wrist lag, and the racket face stays slightly open through contact with very little wrist deviation.
4s
BH Slice · Rear Don Budge's backhand slice from the center of the court, filmed from a rear angle. His follow-through finishes high with the racket face slightly open while his weight moves forward, bringing him quickly back into a compact ready position.
6.5s
BH Slice · Side Don Budge's backhand slice from the baseline, filmed from the side. His classic one-handed technique features an early shoulder turn with pronounced trunk coil, then a controlled uncoiling through contact that keeps his shoulders slightly closed well into the follow-through.
2.5s